Showing posts with label raw. Show all posts

Tuesday, June 5, 2012

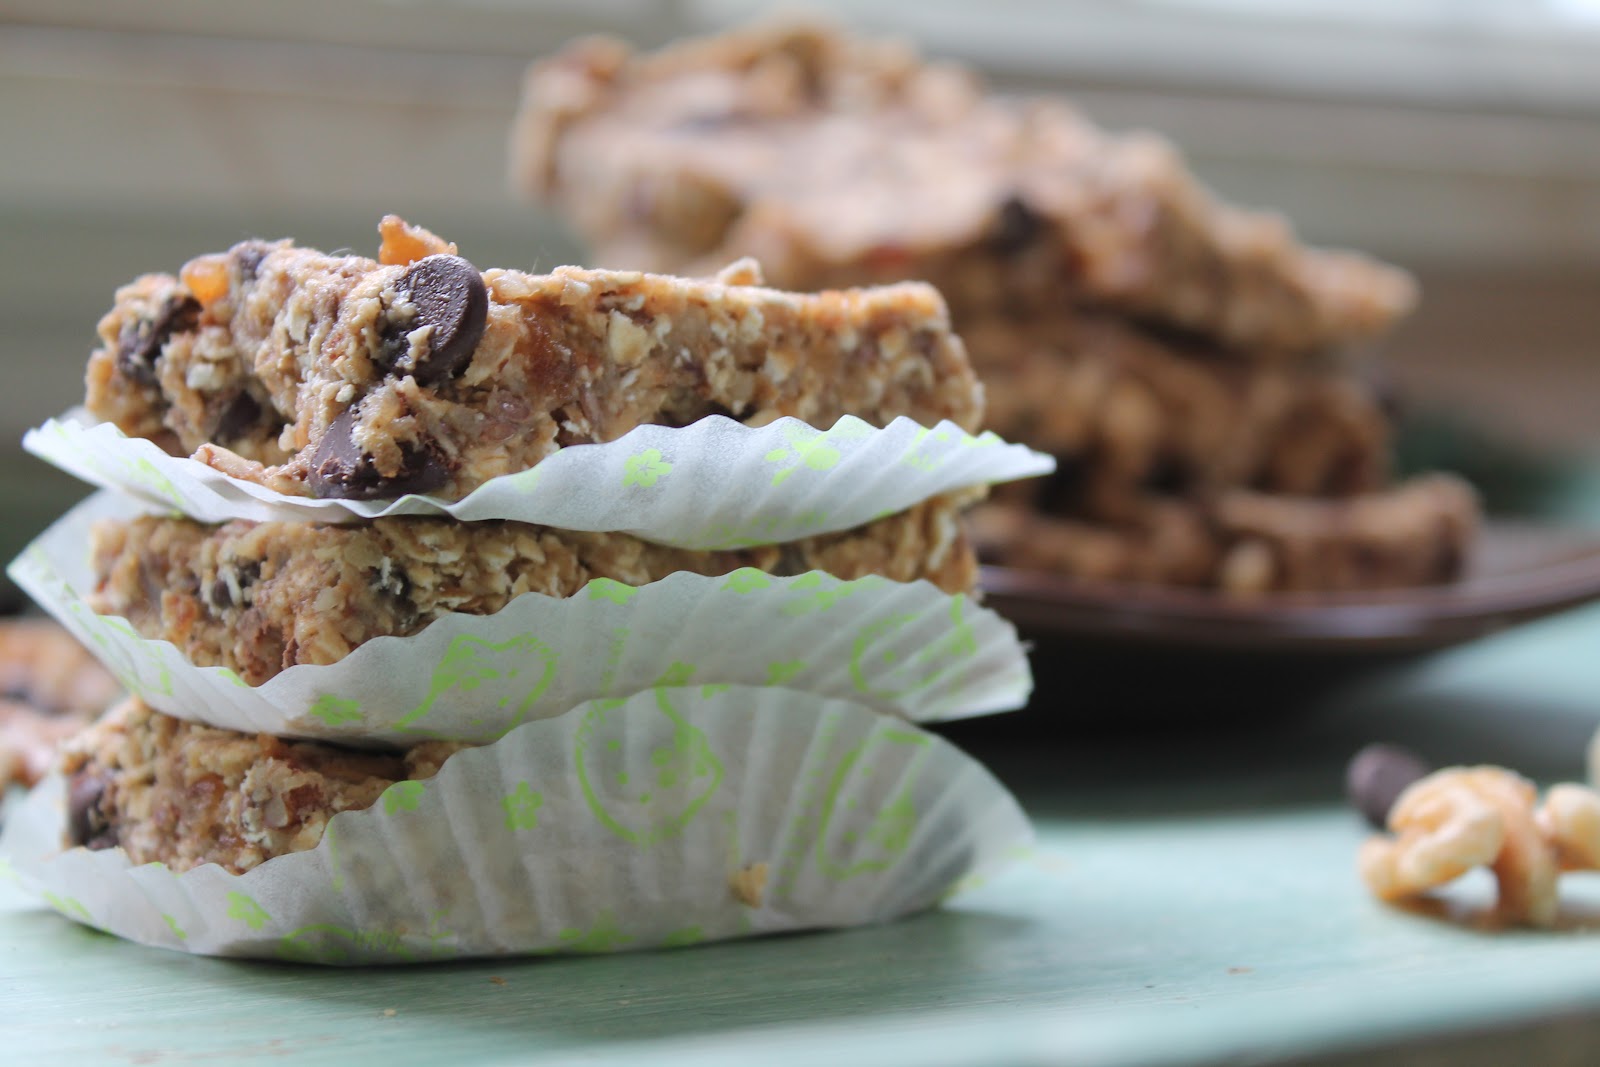
Oatmeal Chocolate Chip Breakfast Cookie

These (almost) raw breakfast bars are loaded with good stuff. Filled with protein and fiber and chocolate chips, it is the perfect way to start the day.

Oatmeal Chocolate Chip Breakfast Bars
yield: 12 bars
gluten-free, sugar-free, soy-free, (almost) raw

1 1/2 cups walnuts, soaked overnight, drained and rinsed
1 1/2 cups dates, pitted
1/2 tsp salt
2 cups oats
3 tbsp raisins
2 tbsp flax seeds
1/4 cup chocolate chips
1/4 cup pecans, chopped
Lightly spay an 8x8 baking dish and set aside.

Mix together dates, walnuts, and salt and in a food processor until fairly smooth (some texture is fine). Add 1/2 cup oats and blend until oats are broken up.

Remove dough from food processor and place in medium bowl. Add the rest of the oats and all remaining ingredients. Stir together until everything is well combined.

Press into the bottom of the baking dish. Let set up in refrigerator at least an hour before slicing. Store in refrigerator and enjoy as breakfast or midday snack throughout the week.
 What's your favorite breakfast food?

Monday, June 4, 2012

Coconut Lime Cream Cake

Sweet Summer, how I love you! And this summer is going to be a good one. Wanna know why? Because it hasn't even started and I'm already enjoying a coconut lime cream cake. And now you can too. Get excited about this delicious, creamy, and refreshing dessert because it's so easy, so quick, and one that everyone can enjoy.

Coconut Lime Cream Cake
raw, gluten-free, soy-free, refined sugar-free
yields: 4 small tarts or cakes
prep time: 20 minutes + 2 hours freezer time

Crust
1 cup unsalted pistachios
2 Tbsp Agave Nectar
pinch of salt

Filling
1 can coconut milk, chilled overnight.
1 avocado
6 Tbsp Agave Nectar
1/3 cup lime juice
1 tsp coconut extract
zest of 1lime

Topping
1 can coconut milk, chilled overnight


Lightly spray four small tart shells or an individual cake pan.
Side note: This is what I'm talking about when I say individual cake or brownie pan.
I use this pan all the time (remember the raw chocolate cheesecake and orange creamsicle) and
it has become one of my favorite ways to make individual servings. But if you don't have small tart shells or a pan similar to this, a muffin tin works great for individual servings.

Okay, back to recipe
Mix the crust ingredients (pistachios, agave, and salt) together in a food processor until pistachios are ground up and hold together. Divide evenly between the four tart, cake, or muffin pans. Press pistachios into the bottom of the pans and set aside to make a filling.

In a food processor combine the rest of the ingredients. You only want to use the fatty, cream part of the coconut milk which, if chilled the night before, will be nicely separated to the top of the can and will scoop out easily.  Mix ingredients until well combined. Scoop batter into the tart shells almost to the top and place in freezer.

To make the topping use your second can of coconut milk the same way as the first, scooping out only the solids. Blend with hand mixture until it resembles whipped cream. You may want to sweeten the coconut whipped cream a little in which case you can add about 1 tbsp agave nectar.

Pull cream cakes out of the freezer and create a smooth top with coconut whipped cream. Place back in freezer and allow to set up for 2 hours.

When ready to serve remove from the freezer, take cream cakes out of pans (you may have to run a hot knife around the edges and give it a few thumps upside down) and allow to thaw 15-20 minutes before eating.
Enjoy!

Tuesday, May 8, 2012

Raw Coconut Almond Truffles

 raw, gluten-free, soy-free, sugar-free, vegan

These super easy truffles will satisfy that late night chocolate craving without the sugar and empty calories of other desserts. And they freeze well, so make only a couple truffles and freeze the batter for later midnight chocolate craving.
Raw Coconut Almond Truffles
1 cup dates
1/2 cup walnuts
1/2 cup almonds
1/2 + 2 Tbsp cup raw cocoa powder
1/2 cup shredded unsweetened coconut 
1/4 cup maple syrup
1 tsp vanilla extract
1 tsp almond extract
1/2 tsp salt
Extra coconut, cocoa powder, or nuts for finishing

In a food processor blend together dates, walnuts, and almonds until it forms a crumble-paste. If it is too thick, add a little water, but only enough for it to come together. It shouldn't be totally smooth; some nutty pieces are desirable. Add the cocoa powder and blend until mostly incorporated. Remove the nut mixture from food processor and place in a large bowl. Fold in the remaining ingredients by hand.

Now it's time to truffle. If the "dough" is too sticky at this point, place in the freezer for 30 minutes until it rolls easily into balls. Measure the truffle mixture out with 1 heaping tablespoon each. Roll into balls and then toss in your desired topping. 
While these could be eaten right away, the truffles are best when cold. For best results place truffles in freezer and allow to harden (at least 1 hours). Store the remaining in freezer and pull out 10 minutes before serving.

What's your favorite midnight treat?

Sunday, May 6, 2012

Raw Chocolate Hazelnut Cheesecake

That's right friends. And it's as good as it looks.

So far the biggest benefit of my soy/gluten freedom month has been the forcing of creativity and innovation. I have to admit, I used to have a sort of prejudice against raw desserts disbelieving in their potential goodness. Oh was I wrong. This is one of my favorite desserts I have ever made. Ever. The chocolate hazelnut cheesecake is so rich and creamy and pure. But wait there's more, it's also healthy!


Raw Chocolate Hazelnut Cheesecake
gluten-free, soy-free, sugar-free, raw, vegan

Crust
1 cup hazelnut meal
1/4 cup + 2 Tbsp raw cocoa powder
3 Tbsp maple syrup
1 tsp vanilla
1 pinch sea salt

The best pan to use for this recipe would be a Flexi-pan or other type of silicone mold. Otherwise a spring form pan works great. If you're very brave and don't have a Flexi-pan but want individual cheesecakes, use a muffin pan, lightly oiled. It will take a little tlc to get the cheesecakes out, but you can do it! This recipe would fill a 9" spring form pan or about 12 individual molds.

Blend all ingredients together in a food processor until it starts to come together. Press the crust into the bottom of desired pan, about 1/4 inch thick.

Set aside while you making the filling.
 The Filling
2 cups raw cashews, soaked overnight and rinsed
1/4 cup + 2 Tbsp hazelnut butter (peanut butter works too)
1/2 cup coconut oil, melted
1/2 cup maple syrup
1/2 cup cocoa powder
1/2 cup water
1/2 tsp salt

In a food processor or mixer blend together cashews, maple syrup, water, and salt. Mix until totally smooth, scraping down the sides of the processor as necessary. Add cocoa powder, hazelnut butter and coconut oil to cashew mixture and blend all together, scraping down again, until mixture is uniformly combine.

Spoon or pipe filling on top of crusts. Stick cheesecake in the freezer until solid all the way through (at least 2 hours for individual cheesecakes, 4 for large cheesecake).
Once frozen remove cheesecake from pan. If using silicone mold, they will easily pop out. If you have a muffin tin, run a sharp, hot knife around the edges of each cheesecake, flip tin upside down and give it a few good whacks again the counter. They could start to slowly side out at this point. Be patient, gravity is on your side. If a few minutes have past and the cheesecakes are still refusing to drop, use a lighter to heat the bottom of the tin briefly; the heat will help release the cake.

Place cakes in the refrigerator and make the chocolate sauce.


 Chocolate Sauce
1/3 cup coconut oil, melted
1 tsp vanilla
1/4 cup maple syrup
1/4 cup cocoa powder

Mix ingredients together with fork. Scoop a little onto cold cheesecake. Place back in fridge and let sauce harden.

Top with hazelnuts. Serve cold


ShareThis